The simplest way to establish communication between a computer and an Arduino Uno is by using the built-in Serial Port via USB. Let me show you how to set it up.
What is a Serial Port?
Very generically speaking, a Serial Port is a communication interface through which information is transferred sequentially one bit at a time.
That’s why the timing is really important for the transmitter as well as the receiver.
Microcontrollers and computers use UART circuits that serialize/deserialize bytes into bits and send them over the wire.
Serial Ports can be established via USB, RS-232 ports, or just bare-bone RX (receive) and TX (transmit) wires, like the Arduino does.
An important attribute of serial communication is the Baud rate (symbols per second), which must be the same for the transmitter and receiver.
Setup
This is my setup. Your setup might vary but that shouldn’t be an issue as long as it’s not fundamentally different:
- MacBook Pro (with MacOS Ventura 13.4.1)
- PlatformIO (v3.3.1, as Extension fo VSCode)
- Elegoo Uno R3 (compatible, and almost identical to the Arduino Uno)
- ⚠️ Make sure that Pin
0(RX) and1(TX) are only used for serial communication, and for nothing else.
- ⚠️ Make sure that Pin
The Elegoo Uno R3 is connected via USB to the MacBook Pro.
Firmware
For the firmware, create a new project using PlatformIO, and select “Arduino Uno” as the board.
Edit src/main.cpp to look like this:
#include <Arduino.h>

void processReceivedChar(char receivedChar);

void setup()
{
  Serial.begin(9600); // Baud Rate = 9600
  Serial.println("<Arduino is ready>");

  pinMode(LED_BUILTIN, OUTPUT);
}

void loop()
{
  if (Serial.available() > 0)
  {
    char receivedChar = Serial.read();
    processReceivedChar(receivedChar);
  }
}

void processReceivedChar(char receivedChar)
{
  if (receivedChar == '1')
  {
    digitalWrite(LED_BUILTIN, HIGH);
    Serial.println("Turned on LED");
  }
  else if (receivedChar == '0')
  {
    digitalWrite(LED_BUILTIN, LOW);
    Serial.println("Turned off LED");
  }
  else
  {
    Serial.print("Unknown Command: ");
    Serial.println(receivedChar);
  }
}
Now flash your Firmware by clicking “Upload” in the “PlatformIO” tab (or hit the shortcut Control ⌃ + Option ⌥ + U).
Open the Serial Port on MacOS
After the firmware was successfully flashed to the Arduino board, let’s open the Serial Port on the Mac and communicate with the Arduino board.
There are many Serial Port software out there.
We’ll use screen, because it’s already pre-installed on your computer and we don’t need anything else.
Open your Terminal.
With ls /dev/cu.* you can find available Serial Ports.
For me, there are only 2:
~ $ ls /dev/cu.*
/dev/cu.Bluetooth-Incoming-Port  /dev/cu.usbmodem101
We can exclude the Bluetooth thing, so it’s pretty evident that the /dev/cu.usbmodem101 is my Arduino board.
If you have too many options, plug off the Arduino board and run the command again.
The item that disappeared is your Arduino board.
Now use screen to communicate with the Arduino board:
screen -port /dev/cu.usbmodem101 9600
Use the device name you identified before (/dev/cu.usbmodem101) and the baud rate used in the firmware (9600).
You should now see:
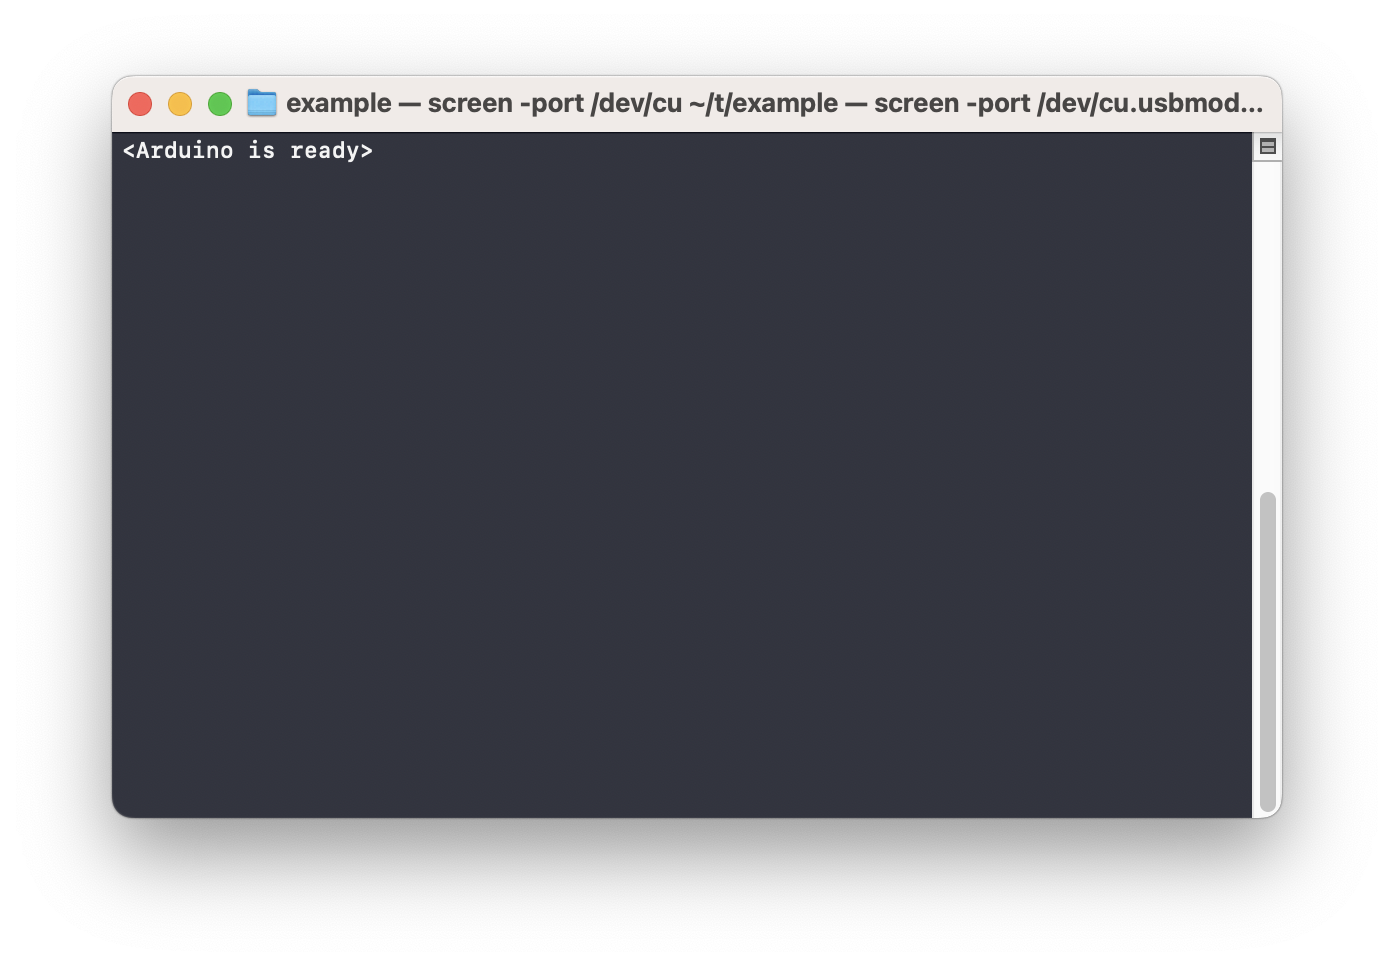
We just received the first message from our Arduino board!
You can type 1, and the built-in LED on the Arduino board should turn on.
Type 0, and it should turn off again.
Any other character will make the Arduino board respond with Unknown Command.
Exit Screen
Exiting screen is a bit tricky. It’s not the standard Control ⌃ + C.
Press Control ⌃ + A, then type: :quit and press Enter ⏎.
That’s it.
Often Control ⌃ + A, then Control ⌃ + \ is recommended online, but it never worked for me. Probably because I’m using a German keyboard layout.
Detached Screens
If you only detached screen via Control ⌃ + A, then D, then the Serial Port is still open in the background.
To close it, list all screens using screen -list:
~ $ screen -list
There is a screen on:
	11150.ttys000.example	(Detached)
1 Socket in /var/folders/jg/eq8w9sgd2g9888p2fd430rpm0000mq/T/.screen.
Then quit the screen using:
screen -X -S 11150 quit
(11150 is the ID returned by the list command before)
Now the screen instance is stopped and the Serial Port is closed.
Troubleshoot Firmware Upload
If the Firmware upload fails with:
*** [upload] could not open port /dev/cu.usbmodem101: [Errno 16] Resource busy: '/dev/cu.usbmodem101'
This means you still have the Serial Port open somewhere.
The programmer also uses the same Serial Port to flash the firmware.
Any Serial Port can only be opened once at a time on the entire system.
Check if you have still a screen process running or any other program that might access the Serial Port, and close it.
Then the firmware upload should work again.
Conclusion
I hope this how-to helped you to establish a connection between MacOS and your Arduino. You can now control the Relay-Board connected to your Arduino using the computer or any other cool things. Find more details about the Serial API on the official Arduino documentation. Enjoy!